How to Paint or Stain Your Wooden Fence Like the Pros
Your wooden fence is an integral part of your property, providing both security and visual appeal to your home. Whether it's a newly installed one or an older wood fence that can use a fresh coat of color and shine, achieving that professional finish requires attention to detail and the right techniques.
From selecting the appropriate tools to mastering the application process, there are key steps you need to follow to ensure your fence looks top-notch.
Also, before we delve into those specifics, consider this: a well-installed and well-maintained wood fence not only enhances your property's curb appeal but also provides lasting protection against the elements.
So, if you're looking to elevate the exterior appearance and longevity of your wooden fence, stay tuned for expert insights on how to tackle this project like a pro.
Differences Between Paint and Stain for Wood
Paint and stain are both used to enhance and protect wood surfaces, but they differ in their application, appearance, and maintenance.
- Paint forms a thick, opaque layer on the surface of the wood, concealing the natural grain and texture of the wood. It provides a wide range of color options and can be used to create a smooth, uniform finish.
- Stain, on the other hand, penetrates the wood fibers to enhance the natural color and grain of the wood. Stain is available in a variety of tints and opacities, allowing you to achieve a range of looks from transparent to semi-transparent to opaque.
When deciding between paint and stain for your wooden fence, you'll also find differences in ease of application, durability, color options, and how they interact with the type of wood you have.
Ease of Applying and Reapplying
When it comes to a wood fence, painting typically requires more prep work, like sanding and priming, before applying the paint. On the other hand, staining usually needs less prep; a simple pressure washing may suffice.
Applying a coat of stain is generally easier and quicker compared to painting a fence. Stain penetrates the wood, enhancing its natural beauty, and can be reapplied without much hassle. In contrast, paint forms a protective layer on the surface, which will require more effort to remove before reapplying.
Another advantage of paint over stain is that the first one can be applied in almost any weather condition except rain. Stain, on the other hand, requires at least 50°F dry conditions and no rain in the forecast for at least three days.
Consider these factors when deciding the best option for your fence.
Durability
For wooden fences, the durability of paint and stain differs significantly in how they protect and preserve the wood. When it comes to wooden fences, the choice between paint and stain can impact the longevity of your fence.
Paint forms a protective layer on the surface of the wood, shielding it from the elements, UV rays, and normal wear, making it best for high-traffic areas and outdoor use, along with providing a bold color statement. However, paint can chip and peel over time, requiring more frequent maintenance.
Stain, on the other hand, penetrates the wood grain, enhancing its natural beauty while also providing some fence protection, although not as well as paint, requiring you to apply an extra coat of polyurethane on every single fence board or post, which can be much more costly. Notwithstanding this, stain tends to fade more gracefully than paint and is easier to reapply when needed.
Consider the level of maintenance you desire for your wooden fence when deciding between paint and stain for optimal durability.
Color Options
Consider the vibrant color options available through paint and the natural hues offered by stain when deciding how to enhance your wooden fence.
If you prefer bold and bright colors or want to match your fence to your home's exterior, paint may be the best choice. Paint offers excellent coverage and can withstand high-pressure cleaning.
On the other hand, stain provides a more subtle look, highlighting the natural beauty of the wood. Stain penetrates the wood, enhancing its durability and offering protection against the elements.
When painting, ensure you have a good quality paint brush for smooth application. For both options, use plastic sheeting to protect surrounding areas from any accidental drips or spills.
Consider the Types of Wood
The wood type and species play a significant role in determining whether to paint or stain your fence.
Different wood species absorb stains and paints differently, affecting the final look and durability of your fence.
- For instance, cedar and redwood fence materials are naturally more resistant to weather conditions, making them ideal for staining, and they're not as receptive to paint.
- On the other hand, pine or spruce wood fences may require painting for better protection against the elements.
- Pressure-treated wood or composite fences made partially from wood can be stained or painted, but the stain will have a hard time soaking into the material. Paint would be the best choice for a quicker project.
Ultimately, the choice between paint and stain depends on personal preference, the desired look, and the level of maintenance you are willing to commit to.
Supplies and Tools Checklist Before Starting
Gather all the essential supplies and tools needed to start your wooden fence painting or staining project.
To ensure a smooth wooden fence painting or staining project, you'll need a:
Tools:
- Paintbrush or paint sprayer (preferably an airless sprayer)
- Paint roller
- Paint tray or buckets
- Paint stir sticks
- Drop cloths or plastic sheeting
- Paint scraper
- Sandpaper or sanding block
- Pressure washer (preferred but not obligatory)
- Wire brush
- Rags or old towels
- Painter's tape
The sprayer can make the application quicker and more uniform, while a brush allows for detailed work and reaching tricky spots. A pressure washer helps clean the fence surface effectively before painting or staining, ensuring better adhesion of the new coat. Buckets and paint trays are handy for mixing the paint or stain thoroughly to maintain a consistent color throughout the project.
Materials:
- Exterior wood paint or stain
- Primer (if needed)
- Wood cleaner or deck cleaner
- Protective finish or sealer
- Gloves
- Respirator or mask
- Eye protection
- Ladder or step stool
- Water for cleanup
Having the right tools and supplies ready before starting your wooden fence painting or staining project will save you time and make the job easier. Make sure your sprayer and brush are in good working condition and that the pressure washer is suitable for outdoor use. Additionally, ensure you have enough buckets to mix the paint or stain properly without any interruptions.
This list may vary depending on the size and condition of the fence, as well as personal preferences and specific project requirements. Preparing these items beforehand will streamline the process and help you achieve a professional finish on your wooden fence.
Steps to Paint or Stain a Wooden Fence
Now, it's time for the main event. The hard work of both preparing your fence for painting or staining and the job itself.
Follow these steps:
1. Check the weather forecast
Make sure to choose a day with favorable weather conditions for painting or staining. Avoid very hot, cold, or rainy days, and wait for temperate, dry weather.
2. Prepare the fence for painting or staining
Clean all the wood thoroughly by scrubbing off any dirt, debris, or mold using a stiff brush or pressure washer. Also, sand any rough spots or peeling paint to create a smooth surface for the new finish. This is where you can start using your gloves and respirator or mask to avoid breathing in any harmful dust from wood or old paint and stains.
This step ensures that the paint or stain adheres properly and provides a smooth finish. Take your time to go over each section, removing any dirt, debris, or old paint. The longer the fence is, the more power washing is the better option, as it will save you much more time than having to go through each section with a brush.
While you wait for the fence to dry, you can start preparing your paint or stain, the brushes or sprayers, and other materials.
Repair any damaged areas, such as loose boards or nails, although if the damage is severe enough, we recommend contacting professionals like those at Stand Strong Fencing.
3. Protect surrounding areas
Cover nearby plants, grass, and other surfaces with plastic sheeting or drop cloths to prevent them from getting stained or damaged.
This will prevent any accidental splatters or drips from reaching unintended areas.
4. Choose the right paint or stain
Select a high-quality fence paint or stain that is suitable for outdoor use and specifically designed for wooden surfaces. And, of course, choose the color you want for the entire project. Remember that paint offers a wider variety of colors, while stain colors are more subtle and low profile but will be easier to maintain throughout the years with constant and easy reapplication.
5. Stir the paint or stain
Before starting, make sure to thoroughly stir the fence stain or paint to ensure an even consistency. The paint will likely need to be thinned a bit with water, but not the stain.
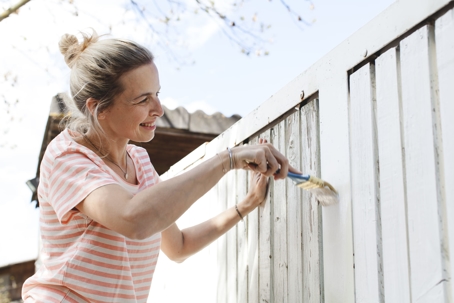
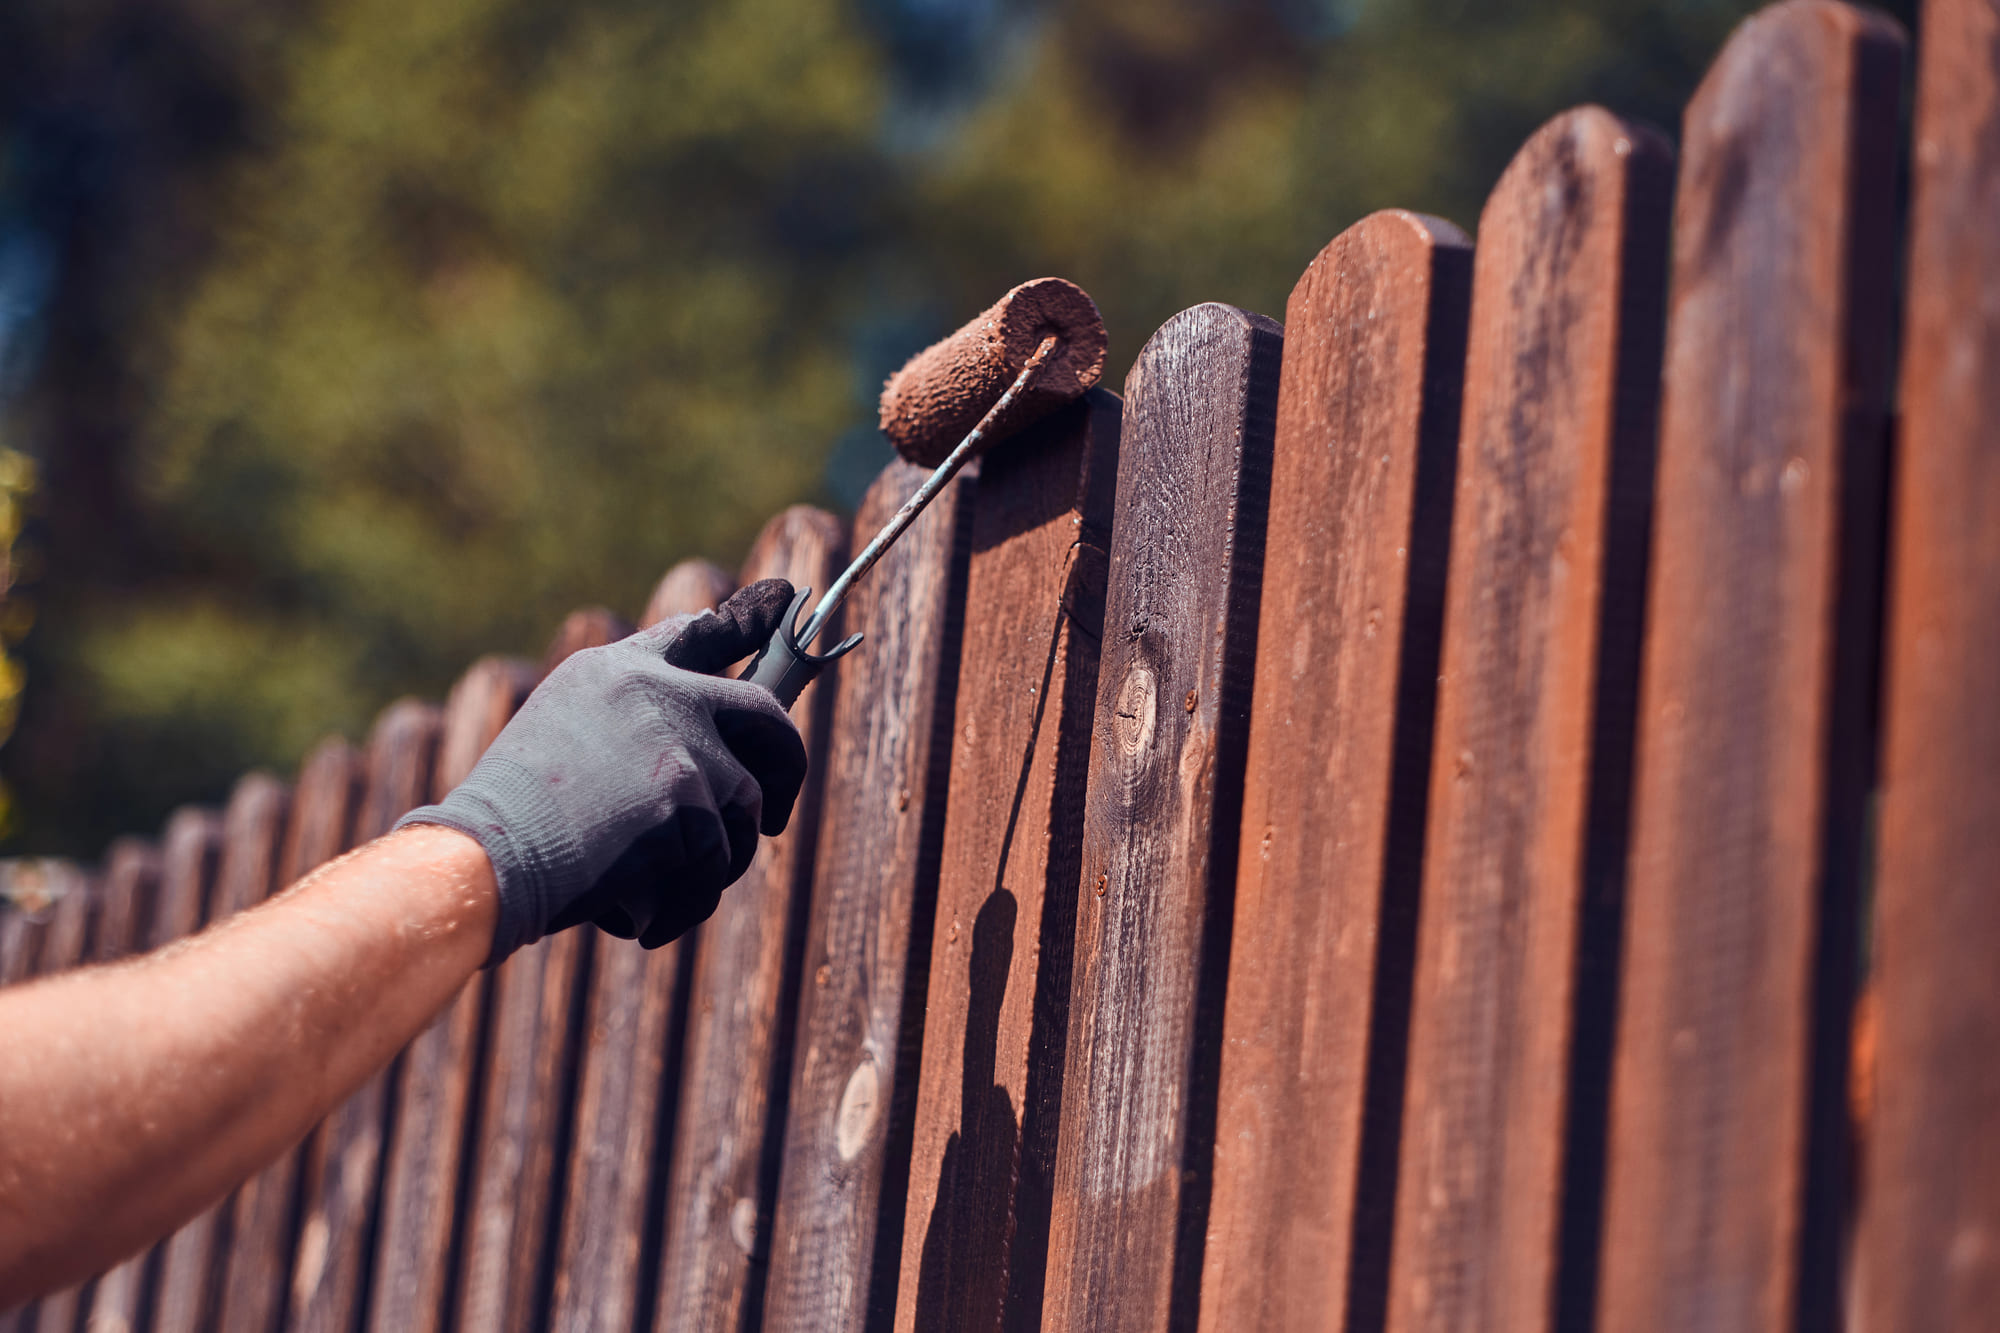
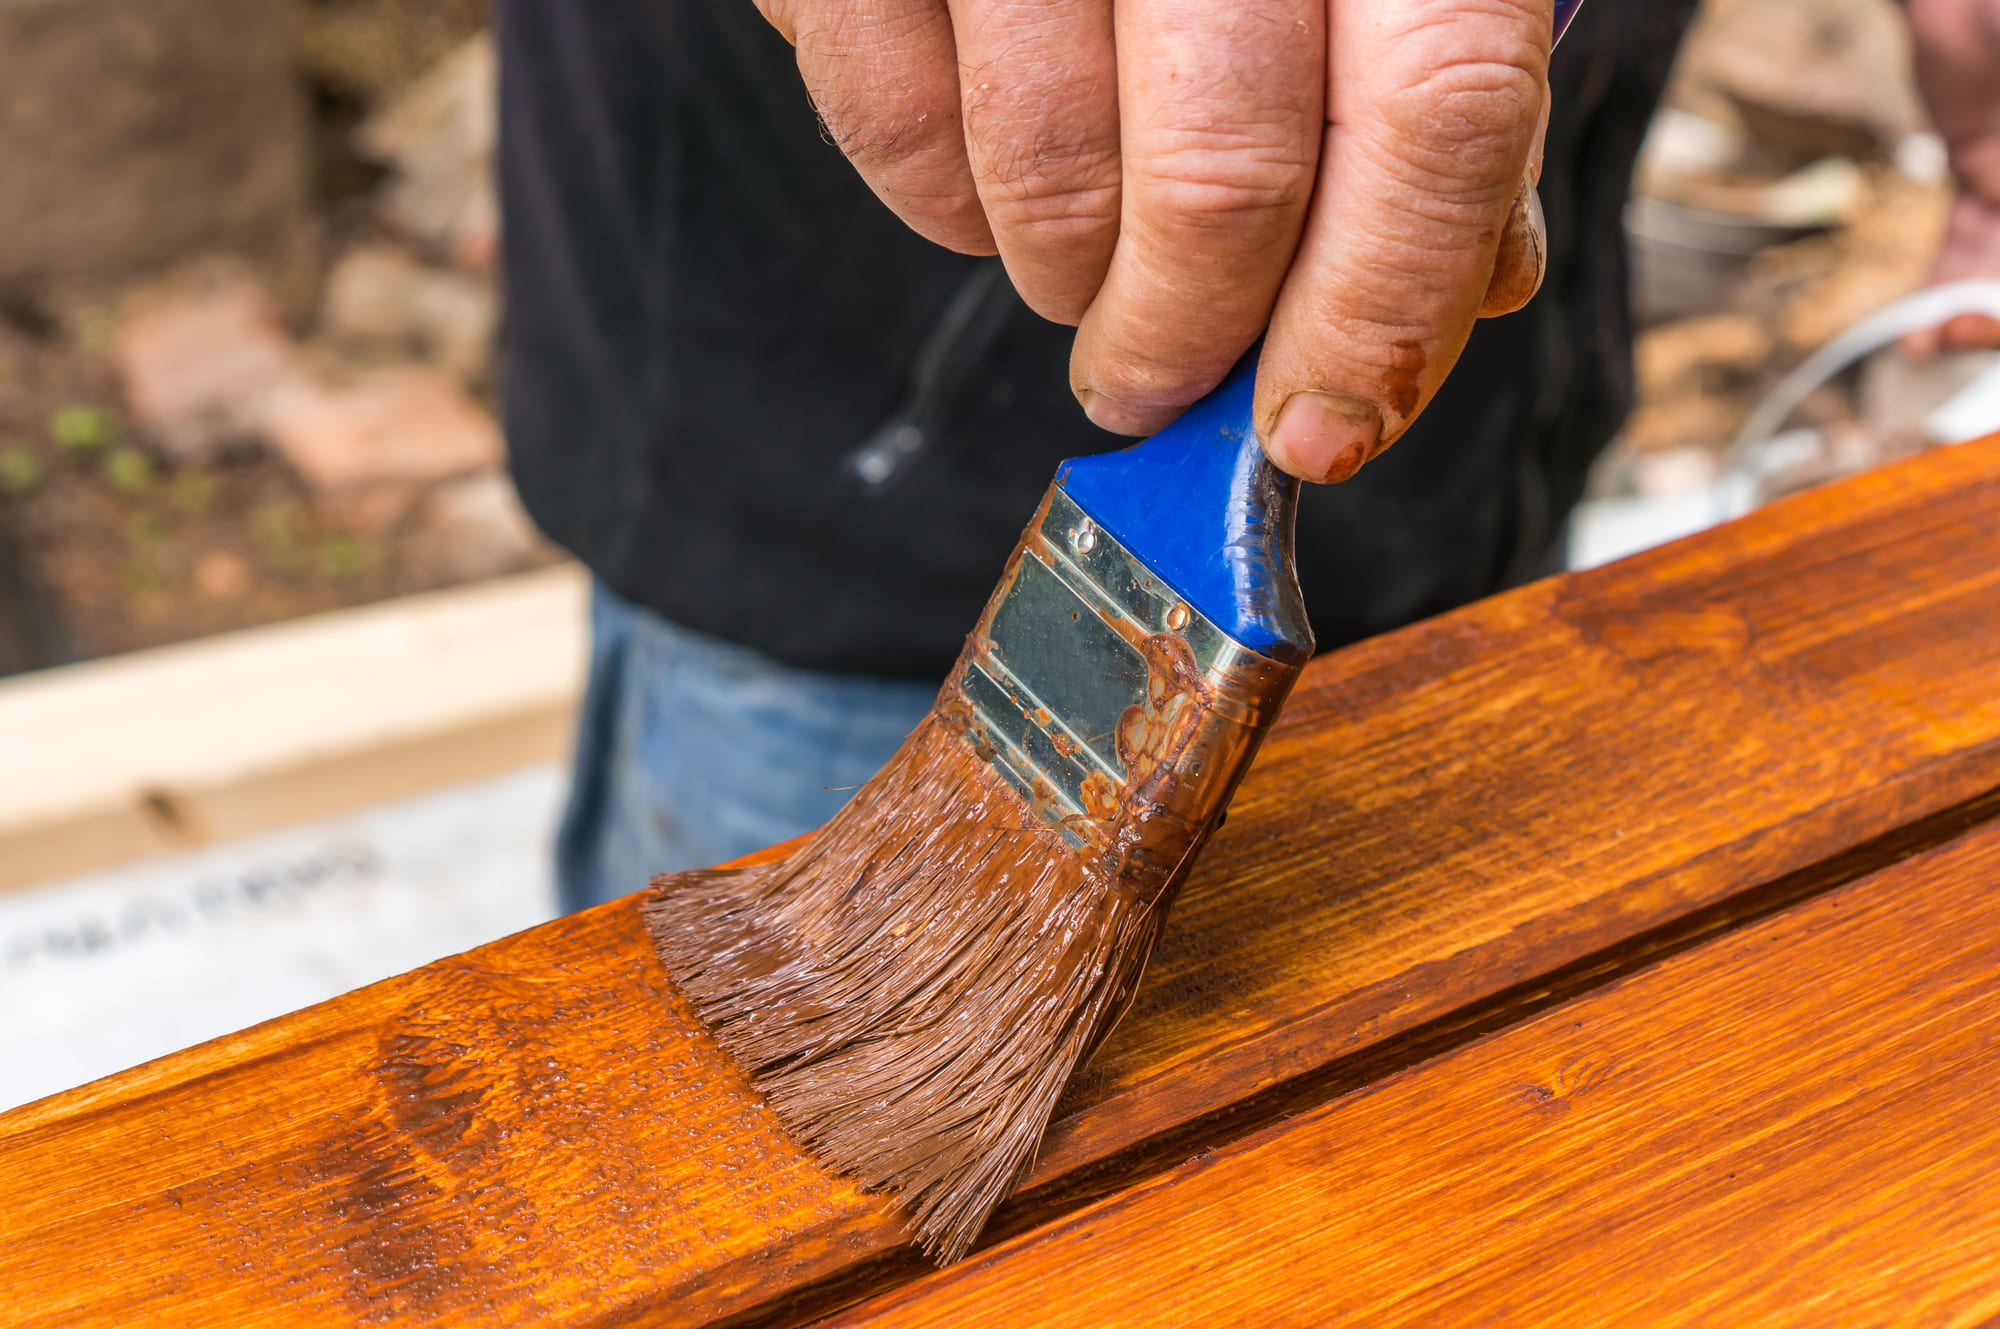
6. Apply the paint or stain
Use a brush, roller, or sprayer to apply the paint or stain evenly on the fence. Work in small sections to avoid drips and ensure complete coverage.
Follow the manufacturer's instructions regarding the number of coats needed and drying times between coats.
Note: You will need to apply a primer before applying your first layer of paint, but not when applying wood stain.
7. Allow for drying time
Let the paint or stain dry completely according to the manufacturer's instructions before touching or exposing the fence to weather conditions. Depending on the weather conditions, this may take a few hours.
8. Inspect and touch up
Once the painted fence is dry, inspect it for any missed spots or areas that need touch-up. If necessary, apply a second coat for a more vibrant color or added layer of protection. Make necessary corrections before considering the project complete. Don't forget to pay special attention to the fence posts, as they're particularly prone to wear and tear.
9. Clean up
Properly clean your tools and dispose of any leftover paint or stain according to local regulations.
By following these steps and taking your time, you'll have a beautifully painted or stained wooden fence that enhances the overall look of your property.
Just Let Stand Strong Fencing Can Take Care of Both Repairs and Restoration on Your Wooden Fence
While a DIY fence repainting and restaining project can be a fun or rewarding time for smaller fences, larger projects require much more time and attention to detail, as well as crucial experience.
Let Stand Strong Fencing handle both repairs and restoration on your wooden fence for expert care and maintenance. When it comes to maintaining your wooden fence, weather can be a significant factor affecting its condition. Over time, exposure to sun, rain, and snow can cause wear and tear on the wood, leading to issues like rotting, warping, or discoloration.
By entrusting Stand Strong Fencing with the upkeep of your fence, you can rest assured that these weather-related problems will be addressed promptly and effectively.
Stand Strong Fencing's team of professionals understands the impact weather can have on your wooden fence and has the expertise to tackle any repairs or restoration needed. Whether it's replacing damaged boards, reinforcing weak sections, or applying a fresh coat of stain to protect against the elements, they'll ensure your fence remains strong and attractive for years to come.
Call us at (866) 516-8692 and schedule a quote!
Frequently Asked Questions
Can I Paint Over an Existing Stain on My Wooden Fence?
Yes, you can paint over an existing stain on your wooden fence. Ensure the surface is clean and prepped before applying a new coat of paint. It's a quick way to refresh your fence's look without the hassle of stripping the old stain.
How Long Does It Take for Paint or Stain to Dry on a Fence?
When you paint or stain a fence, it typically takes 24 to 48 hours to dry completely. Factors like weather conditions and the type of product used can affect drying times. Make sure to allow enough time for a durable finish.
Is It Necessary to Sand the Wooden Fence Before Painting or Staining?
Yes, before painting or staining your wooden fence, it's essential to sand it. Sanding helps create a smooth surface, allowing the paint or stain to adhere better and result in a more professional finish.
Is it Better to Use a Sprayer Instead of a Brush to Apply Paint or Stain?
If you can afford it or get a hold of a good, airless paint sprayer, yes. It can save you time and provide more even coverage. Just ensure proper technique and protection for nearby surfaces.
What Is the Best Time of Year to Paint or Stain a Wooden Fence?
For a wooden fence, the best time to paint or stain is during the spring or fall when the weather is mild. This ensures optimal conditions for the paint or stain to adhere well and provide long-lasting protection.